Linseed oil is one of the most popular natural wood finishes used by woodworkers, furniture restorers, and DIY enthusiasts. It enhances the natural grain of the wood, adds a warm appearance, and provides protection against moisture and everyday wear. Whether you’re working on furniture, wooden tool handles, doors, tables, or decorative wood pieces, linseed oil can help bring out the beauty of the wood.
If you’re wondering how to apply linseed oil to wood, the process is relatively simple. However, applying it correctly makes a huge difference in the final appearance and durability of the finish. This guide covers everything you need to know, from preparation to maintenance.
What Is Linseed Oil and Why Is It Used on Wood?
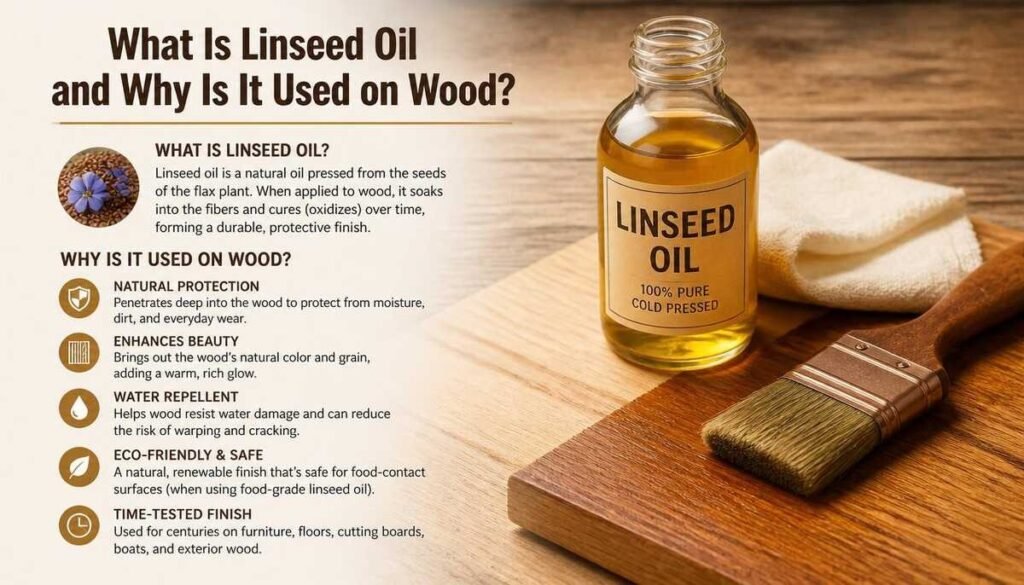
Linseed oil is derived from flax seeds and has been used for centuries as a natural wood preservative and finishing product.Many woodworkers prefer linseed oil because it enhances the wood’s natural character rather than hiding it.
The finish creates a rich, warm look that highlights grain patterns while maintaining a natural appearance. It is especially popular for antique furniture restoration, woodworking projects, and wooden tool handles.
Types of Linseed Oil for Wood Projects

Before starting, it’s important to understand that there are two main types of linseed oil commonly used on wood. Choosing the right one can affect drying time and overall results.
Raw Linseed Oil dries very slowly and may take several days or even weeks between coats. Boiled Linseed Oil (BLO) contains drying agents that significantly reduce drying time, making it the preferred choice for most woodworking and furniture projects. Many DIY users choose boiled linseed oil because it provides faster and more predictable results.
Tools and Materials You’ll Need

Preparing your supplies before starting makes the application process smoother and more efficient. Using quality materials can also improve the final finish.
You’ll typically need:
- Linseed oil (preferably boiled linseed oil)
- Clean lint-free cloths
- Fine-grit sandpaper
- Soft brush or vacuum
- Protective gloves
- Clean workspace with good ventilation
Having everything ready beforehand helps ensure a professional-looking finish without interruptions.
Prepare the Wood Surface Properly
The quality of the final finish depends heavily on how well the wood is prepared. Applying linseed oil over dirt, dust, or old finishes can prevent proper absorption and lead to uneven results.
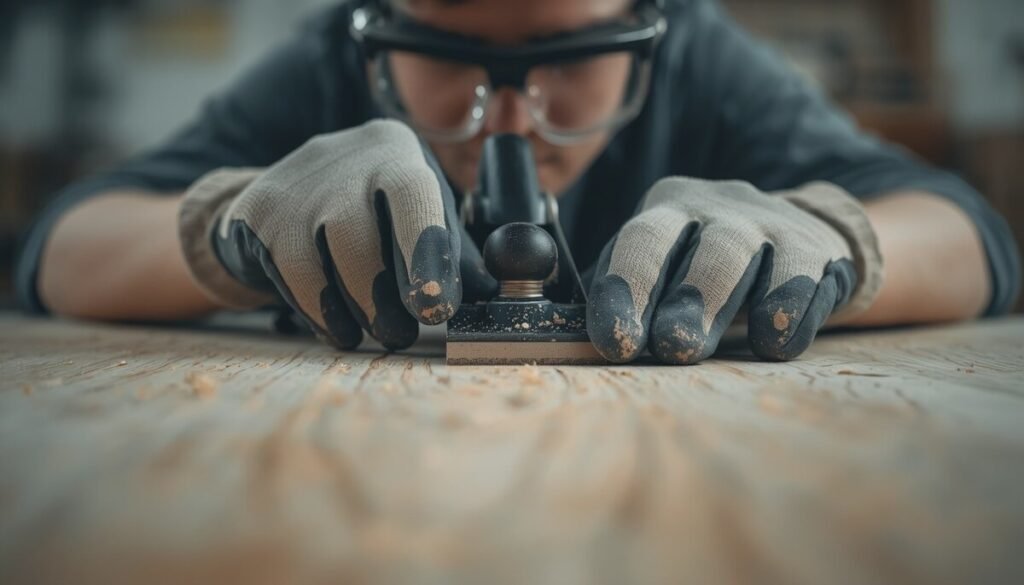
Begin by sanding the wood surface until it feels smooth.If the wood has an existing finish, strip it completely before applying linseed oil. Clean, bare wood allows the oil to penetrate deeply and create a more attractive finish.
How to Apply Linseed Oil to Wood Step by Step
Applying linseed oil correctly is a straightforward process, but patience is important. Rushing the application can result in sticky surfaces and uneven absorption.
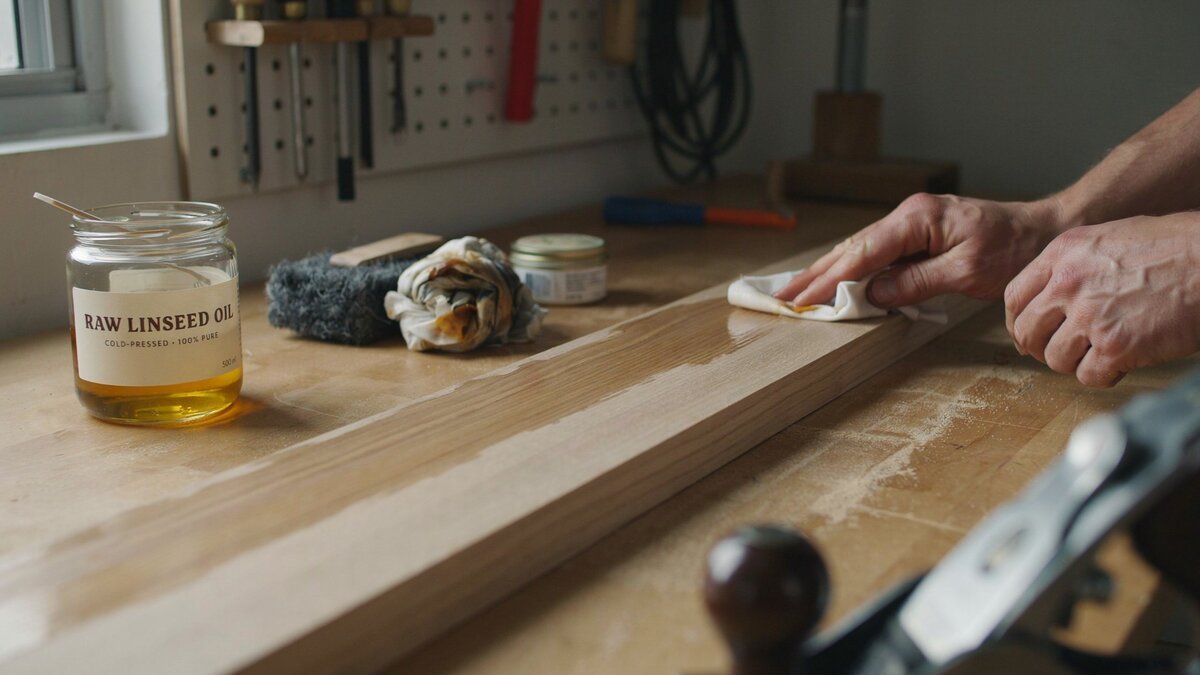
Pour a small amount of linseed oil onto a clean cloth and rub it into the wood using circular motions. Apply a thin, even coat across the entire surface, following the direction of the wood grain. Allow the oil to soak into the wood for approximately 15 to 30 minutes before wiping away any excess. Leaving excess oil on the surface can create a tacky finish that takes much longer to dry.
Applying Additional Coats for Better Protection
The wood type and intended use will determine how many coats are necessary.After the first coat has fully dried, lightly buff the surface and apply another thin coat. Most furniture and woodworking projects benefit from two to four coats. Each additional layer enhances the wood grain while improving moisture resistance and durability.
How Long Does Linseed Oil Take to Dry?
Drying time varies depending on the type of linseed oil used, room temperature, humidity levels, and the thickness of each coat. Understanding drying times helps prevent smudges and finish problems.
Boiled linseed oil generally dries within 24 to 48 hours per coat under normal conditions. Raw linseed oil can take significantly longer. Proper ventilation and moderate temperatures help accelerate the curing process while ensuring a more consistent finish.
Using Linseed Oil on Furniture, Floors, and Tool Handles
Linseed oil is versatile and can be used on a variety of wooden surfaces. However, different projects may require slightly different application approaches.
For furniture, focus on thin coats and thorough wiping. Wooden tool handles benefit from occasional reapplication to prevent drying and cracking. Wood floors can also be treated with linseed oil, though they may require more maintenance due to heavy foot traffic. Regular care helps maintain the wood’s appearance and protection over time.
Common Mistakes to Avoid
Many problems occur because users apply too much oil at once or fail to remove excess product from the surface. These mistakes can result in sticky finishes and extended drying times.
Avoid applying thick coats, skipping surface preparation, or rushing the drying process. Always wipe off excess oil and allow adequate curing time between coats.
How to Maintain Linseed Oil Finished Wood
Proper maintenance helps preserve the beauty and protection provided by linseed oil. Unlike some modern finishes, linseed oil may require occasional refreshing to maintain its appearance.
Dust the surface regularly and clean it with a soft cloth. When the wood begins to look dry or dull, apply a light maintenance coat. Periodic reapplication helps keep the wood nourished and enhances its natural grain for years to come.
Is Linseed Oil Better Than Other Wood Finishes?
Linseed oil offers a natural look that many homeowners and woodworkers prefer over synthetic coatings. It penetrates the wood rather than forming a thick surface layer, creating a more authentic appearance.
While polyurethane and varnish may provide stronger surface protection, linseed oil excels at enhancing natural beauty and preserving wood character. For furniture, woodworking projects, antique restoration, and decorative pieces, it remains one of the most trusted finishing options available.
Final Thoughts
Learning how to apply linseed oil to wood is one of the most valuable skills for anyone interested in woodworking, furniture care, or DIY home improvement. With proper preparation, careful application, and regular maintenance, linseed oil can enhance the appearance of wood while providing long-lasting protection.
Whether you’re treating a wooden table, restoring antique furniture, conditioning tool handles, or protecting decorative woodwork, linseed oil remains a reliable and timeless choice that brings out the natural beauty of wood.
FAQs
How many coats of linseed oil should I apply to wood?
Most projects benefit from two to four thin coats. Additional coats can improve protection and enhance the wood’s appearance.
Can I apply linseed oil directly to unfinished wood?
Yes. Linseed oil works best on clean, sanded, unfinished wood where it can penetrate deeply into the fibers.
How long should linseed oil sit before wiping it off?
Allow the oil to soak into the wood for about 15–30 minutes, then wipe away any excess with a clean cloth.
Can linseed oil be used on wood furniture?
Absolutely. Linseed oil is commonly used on tables, chairs, cabinets, and antique furniture to enhance grain and provide natural protection.
Leo Brooks is an expert in botanical oils and aromatherapy. He focuses on the healing power of scents, guiding you through the intricate process of blending essential oils for wellness, relaxation, and a balanced lifestyle.